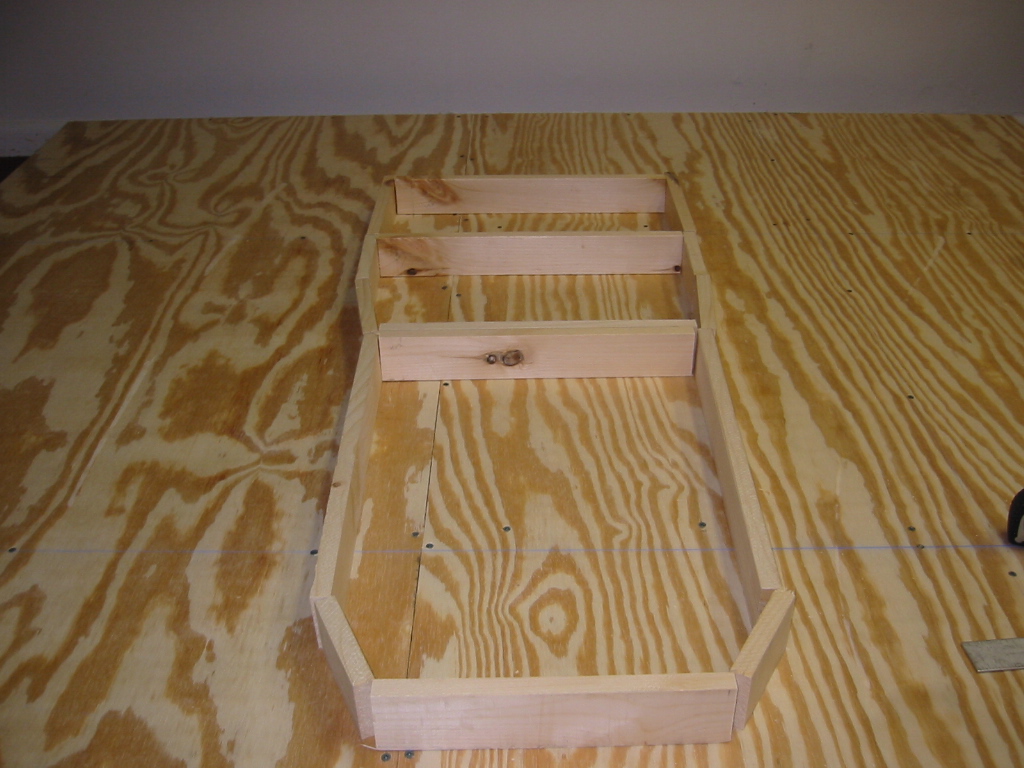
 First thing is to lay out the basic shape of the pedestal using the base.
 Construction
Update
Week 2
Time to get some REAL construction underway! I am beginning with the center pedestal. This will 'center' (pun intended) the structure and is probably the most forgiving structure in the cockpit to build. It is basically a set of boxes that are just very cool!
As we are going with a wood structure, I have several options to consider around the type of wood, fasteners, finish, etc. My standard will be basic pine for the support frame with smooth finish 1/4" plywood on the sides and 3/8" MDF (Medium Density Fiberboard) for the top panel sections.
So...let's see how far we get this weekend!....
Drawings: (n/a)
Dimensions: (n/a)
Photos:
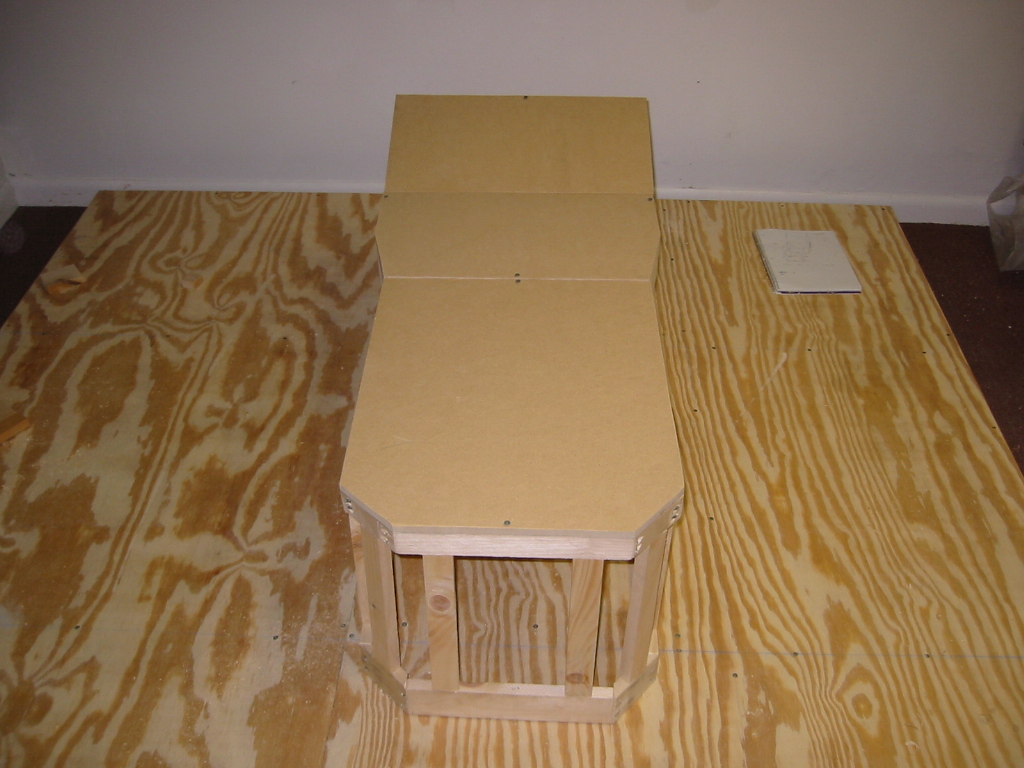
First thing is to lay out the basic shape of the pedestal using the base.
 I then duplicate the base shape using slightly smaller pieces. This will form
the top part of the structure
I then duplicate the base shape using slightly smaller pieces. This will form
the top part of the structure
 Lay them side by side to compare
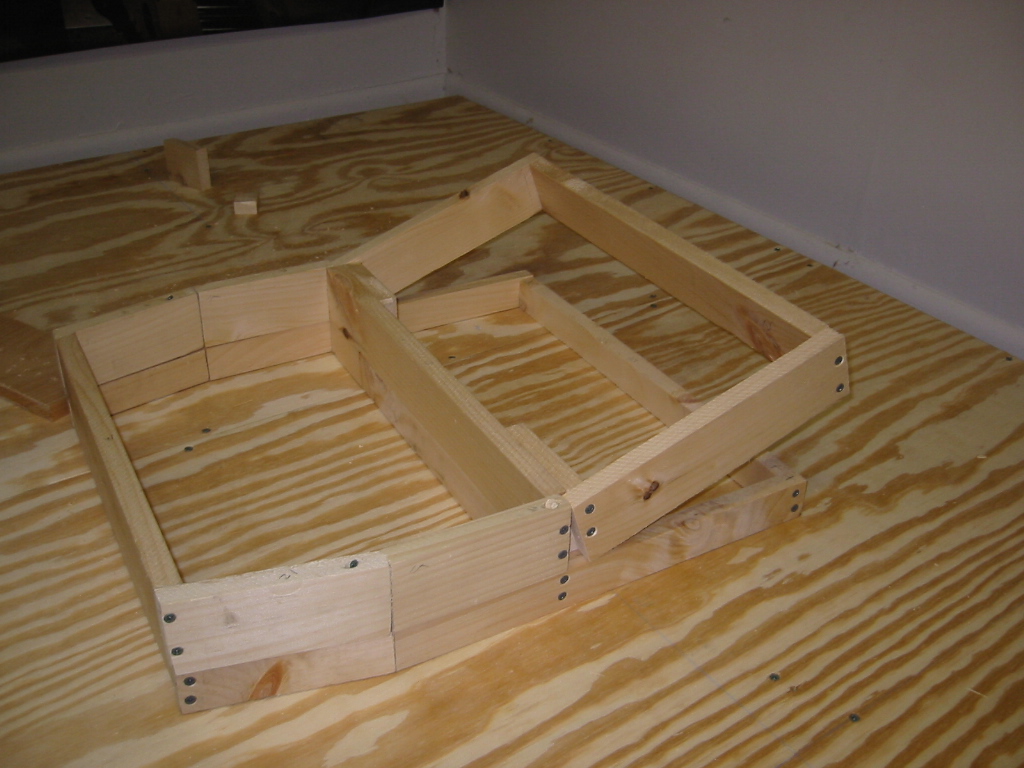 The Power Quadrant and CDU/FMC section had to be built with an angle in the
middle of the Power Quad (for the CCD Controls) and an upward angle on the CDU/FMC
segment, as in the actual aircraft
The Power Quadrant and CDU/FMC section had to be built with an angle in the
middle of the Power Quad (for the CCD Controls) and an upward angle on the CDU/FMC
segment, as in the actual aircraft
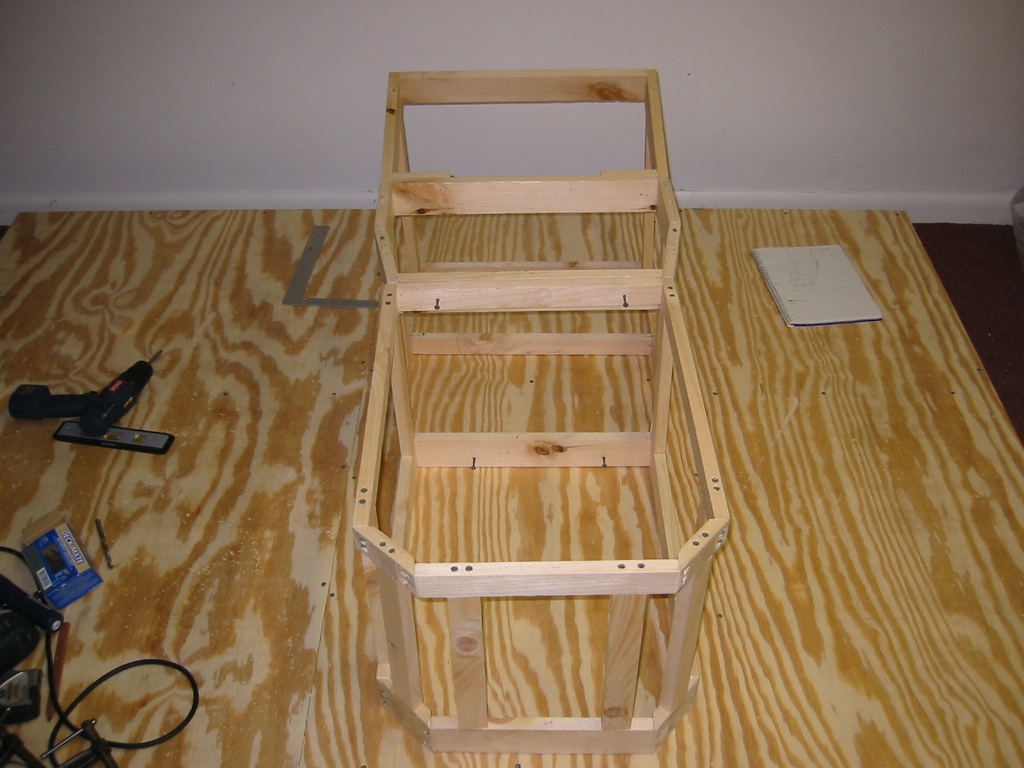 Connect the top frame with the bottom frame using 1 1/2" pieces. I used
drywall screws (my favorite fastener!) to connect the various pieces. I am no
carpenter - no time for 'dove joints' and 'glue'!
Connect the top frame with the bottom frame using 1 1/2" pieces. I used
drywall screws (my favorite fastener!) to connect the various pieces. I am no
carpenter - no time for 'dove joints' and 'glue'!
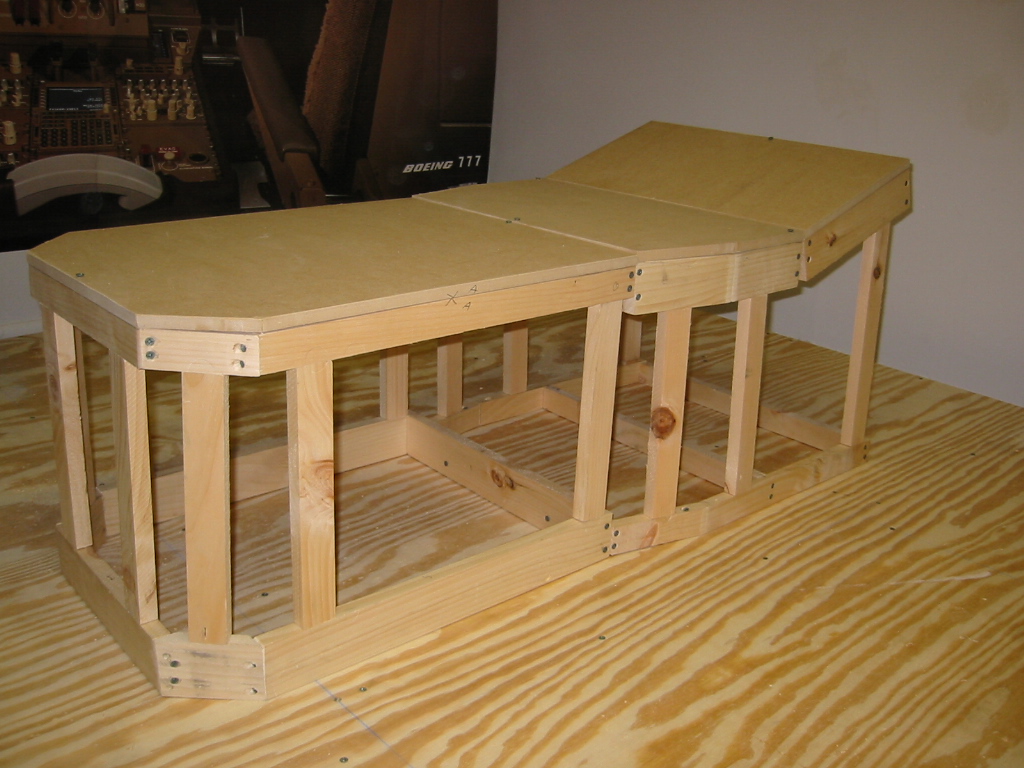
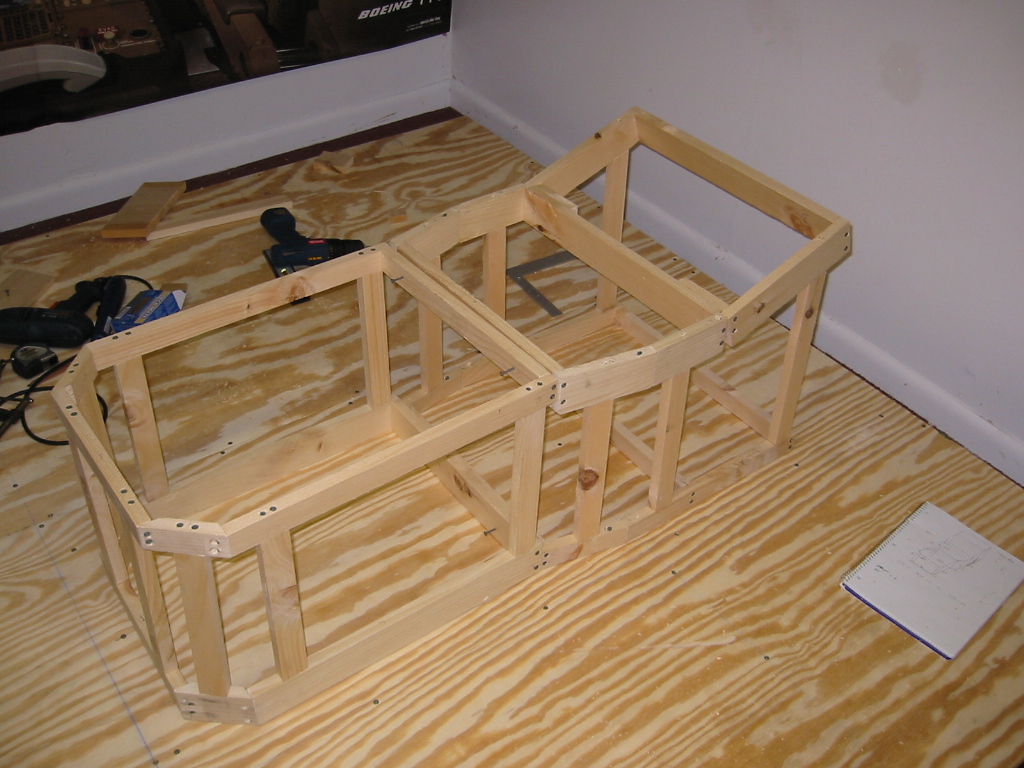 The finished frame. The 45 degree angle pieces at the rear are a PAIN to measure
and build. Several errors along the way...but nothing a saw and some anger won't
solve!
The finished frame. The 45 degree angle pieces at the rear are a PAIN to measure
and build. Several errors along the way...but nothing a saw and some anger won't
solve!
 The frame is built to separate midway...so I can get this beast out of the
basement some day!
The frame is built to separate midway...so I can get this beast out of the
basement some day!
 The MDF top panels are cut to measure. They lie perfectly covering the frame. I
will add the seating frame parts later.
The MDF top panels are cut to measure. They lie perfectly covering the frame. I
will add the seating frame parts later.
 The semi-finished pedestal. Still a lot of work to do...but good enough for this
week!
The semi-finished pedestal. Still a lot of work to do...but good enough for this
week!
Reflections. (this is where I sit on my work stool and stare at my creation for a few long minutes and visualize flying through the air in the finished product...I usually am covered in sweat, sawdust, blood and pizza crust...but I am in 'the zone'! I also admit my failings to myself, and try to learn for the next phase of the project...or just blow it off and keep moving!)
- I did not build in the 'overhang' piece of the pedestal. If you look carefully at a real 777, the rear part has a 1" indented base that goes about 2" high around the whole rear. I don't think it makes a difference...one less place to lose a screw!
- The structure will make a great place to put electronics and power supplies.
- This thing looks like a coffin...for a small person with a rather large head!
See you next week!